Stop Loss Placement: Where Your Trade Is Actually Invalid
Learn how to place stop losses using market structure, swing highs and lows, volatility, liquidity and true trade invalidation instead of arbitrary pip distances.
A stop loss is not there because losing feels uncomfortable.
It is there because every trade idea needs a point where the market has done something that proves your reasoning was wrong.
Put the stop too close and normal market movement can remove you from a perfectly valid setup.
Put it too far away and you may increase risk unnecessarily or destroy your risk-to-reward.
What You’ll Learn
What Is a Stop Loss?
A stop loss is an order designed to close a trade if price reaches a predetermined level.
Its purpose is to limit the loss if the market moves against your setup.
What Is Trade Invalidation?
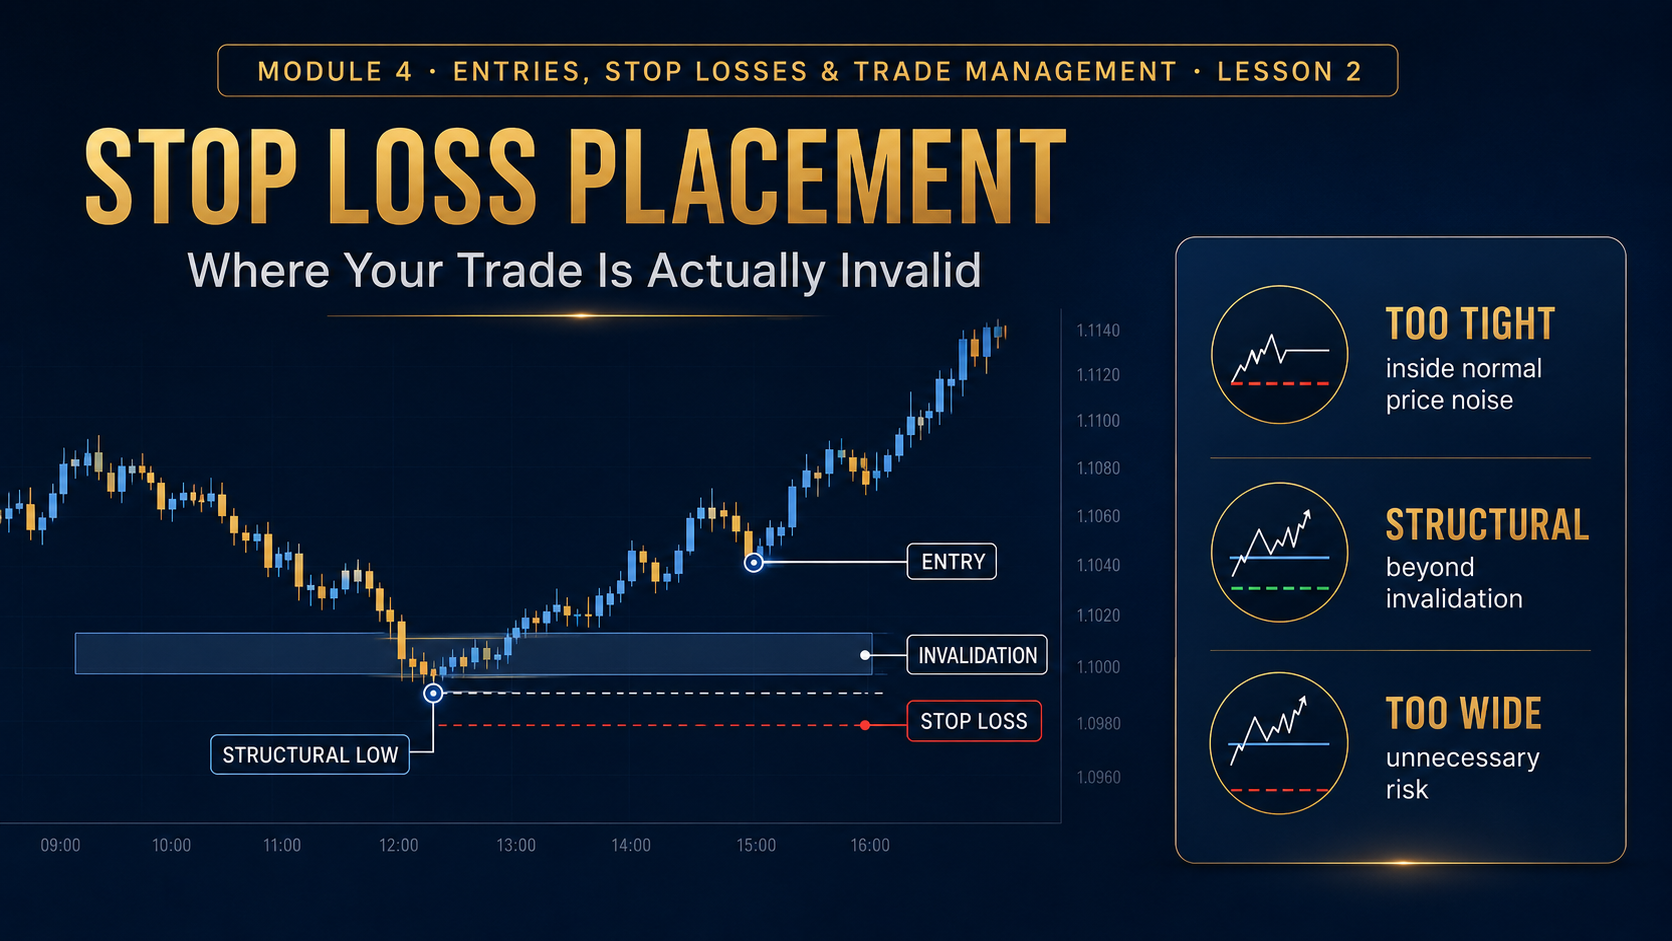
Invalidation is the market behavior that proves your original trade idea is no longer valid.
The Wrong Way to Choose a Stop
Structure-Based Stop Loss Placement
One of the most logical ways to place a stop is beyond the structural point that supports your setup.
Stop may belong below the swing low or support structure that must hold for the bullish idea to remain valid.
Stop may belong above the swing high or resistance structure that must hold for the bearish idea to remain valid.
Stop Below a Swing Low
Imagine a bullish setup where price forms a higher low at support.
Stop Above a Swing High
The same logic applies to a short trade.
Using the Rejection Wick as Invalidation
When a setup is based on a liquidity sweep and rejection candle, the wick extreme can sometimes become the invalidation point.
Should You Put the Stop Exactly on the Obvious High or Low?
Usually, the structural level itself is obvious to many traders.
Normal market noise can trade a small distance beyond a visible level without completely invalidating the larger idea.
The buffer should still be logical and consistent. It should not become an excuse to widen the stop after entry.
What Is a Stop Buffer?
A stop buffer is a small additional distance placed beyond the technical invalidation level.
The appropriate buffer depends on the market, timeframe, volatility and strategy.
Volatility Matters
A 10-pip stop can behave very differently depending on the market environment.
Average candles are small, so a moderate stop may sit comfortably beyond structure.
Normal candle ranges may be large enough to hit a tight stop without changing the overall setup.
Using ATR as a Volatility Reference
Some traders use Average True Range, or ATR, as a reference for recent market volatility.
ATR does not tell you where the trade is invalid.
It can help you understand whether the technical stop is unusually tight or wide relative to normal movement.
The Problem With Fixed-Pip Stops
A trader might decide to use a 20-pip stop on every trade.
But the market does not organize itself around your preferred number.
What Happens When the Stop Is Too Tight?
The problem may not have been the analysis. The stop may simply have been placed where the trade was still technically valid.
What Happens When the Stop Is Too Wide?
Making the stop unnecessarily wide creates different problems.
Stop Distance Determines Position Size
This is one of the most important connections in risk management.
| Account Risk | Stop Distance | Relative Position Size |
|---|---|---|
| $100 | 20 pips | Larger |
| $100 | 40 pips | Approximately half as large |
| $100 | 80 pips | Smaller again |
Never Widen the Stop Because You Hope the Trade Comes Back
One of the most destructive habits in trading is moving a stop farther away after the market approaches it.
If new analysis genuinely changes the trade plan, that should be part of a tested management strategy — not a reaction to fear.
Mental Stops vs. Hard Stop Orders
A mental stop means the trader plans to manually exit if price reaches a certain level instead of placing the stop order in advance.
This can create serious execution risk.
“The Market Hunted My Stop”
Traders often blame losses on stop hunting.
Sometimes price does sweep an obvious high or low before reversing, as you learned in Module 2.
But that does not mean every losing trade occurred because someone specifically targeted your position.
Stop Losses Around High-Impact News
Major economic releases can create rapid price movement, wider spreads and slippage.
A stop order may therefore execute at a worse price than the exact stop level during extreme volatility.
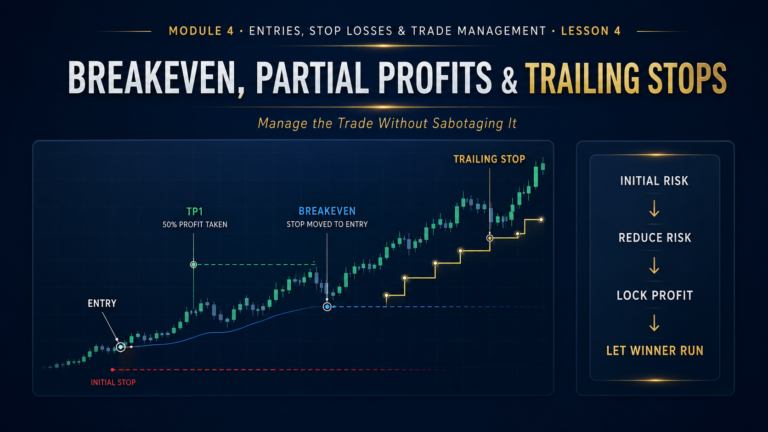
Moving a Stop to Breakeven Is a Different Decision
Once a trade moves in your favor, you may eventually consider moving the stop.
That is trade management — not initial stop placement.
Managed stop: Has the trade developed enough to justify reducing risk?
We will cover breakeven and active stop management later in this module.
Complete Bullish Stop Placement Example
Complete Bearish Stop Placement Example
Common Stop Loss Mistakes
Different market structures require different invalidation distances.
Normal volatility can remove you before the trade idea actually fails.
Excess distance may add unnecessary risk and weaken reward potential.
The technical stop should come first; position size adjusts afterward.
This converts planned risk into emotional risk.
A controlled loss can become an uncontrolled one.
Tight stops behave differently in quiet and highly volatile markets.
Stop Loss Placement Framework
Stop Guessing Where to Put Your Stop Loss
Financial Markets Academy offers live 1-on-1 mentorship for traders who want to learn structured entries, stop-loss placement, position sizing, profit targets and professional trade management.
Reserve Your Seat →Stop Loss Checklist
Frequently Asked Questions
Where should I place my stop loss?
A stop loss should generally be placed where the market would invalidate the trade thesis, often beyond meaningful structure, swing points or rejection extremes.
Should I always put my stop below the previous low?
No. The correct level depends on the setup. The relevant swing low should actually represent structural invalidation for the trade.
How tight should my stop loss be?
It should be tight enough to control risk but wide enough to remain outside ordinary price movement while the setup is still valid.
Should I use the same stop distance on every trade?
Usually not. Different structures, markets and volatility conditions can require different stop distances.
Can I move my stop farther away if I think price will come back?
Moving the stop farther away simply to avoid taking a loss usually increases risk beyond the original plan and can undermine discipline.
Does a stop loss guarantee the exact exit price?
No. Slippage can occur during rapid volatility, low liquidity or market gaps, so execution can differ from the requested stop price.
Module 4 · Lesson 2 Knowledge Quiz
B. A random pip number
C. Emotion
D. Maximum leverage
B. Position size should always increase
C. Nothing changes
D. Stop losses are removed
B. Extra leverage
C. A profit target
D. A broker fee
B. Tight stops always win
C. They guarantee profit
D. They remove slippage
B. Move the stop farther away
C. Double the position
D. Remove the stop
Key Takeaways
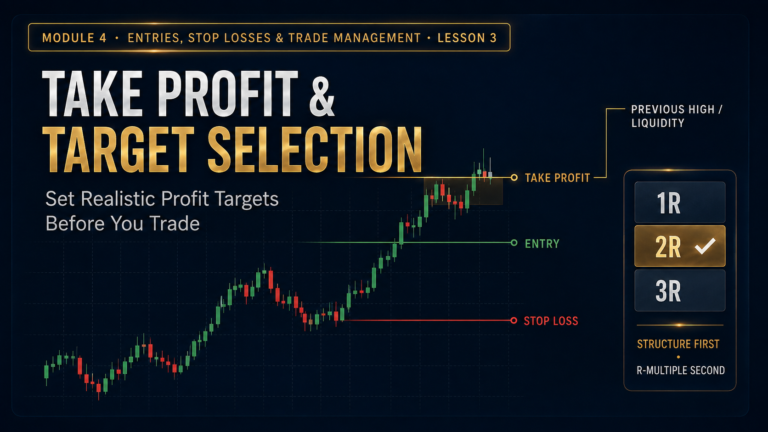
Lesson 3: Take Profit & Target Selection
Now that you know where the trade is wrong, the next lesson focuses on where the trade should realistically pay you — including structural targets, opposing liquidity, R-multiples and how to avoid unrealistic take-profit levels.