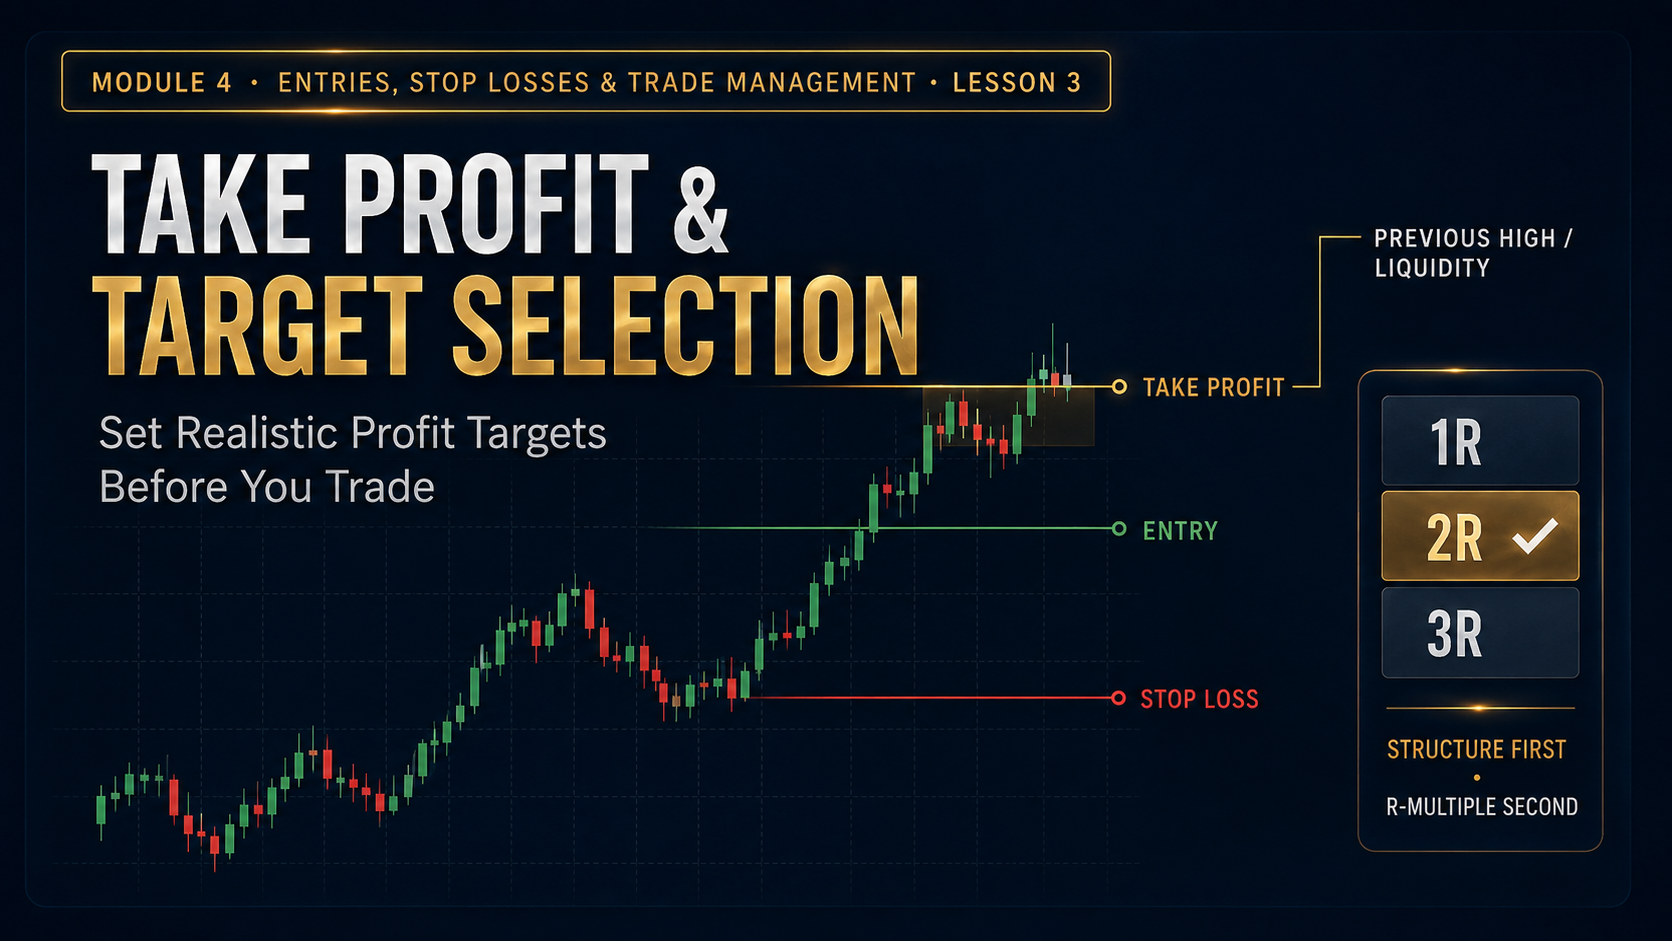
Take Profit & Target Selection: How to Set Realistic Profit Targets Before You Trade
Learn how to choose take-profit levels using market structure, support and resistance, opposing liquidity, R-multiples and realistic price objectives instead of arbitrary profit goals.
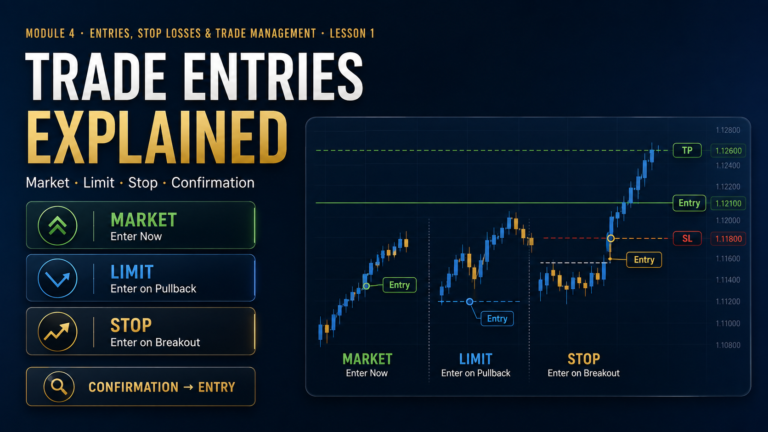
Knowing where to enter is important.
Knowing where the trade is wrong is essential.
But you also need to know where the trade should realistically pay you.
Many traders spend enormous amounts of time perfecting entries while giving almost no thought to exits.
A realistic target helps you measure whether the trade is worth taking before you ever click buy or sell.
What You’ll Learn
What Is a Take-Profit Order?
A take-profit order is an instruction to close some or all of an open position when price reaches a predetermined favorable level.
It allows you to decide where profits should be realized before emotion becomes involved.
The Wrong Way to Choose a Target
Structural Profit Targets
Market structure provides some of the most logical places to look for potential targets.
A natural bullish objective.
A natural bearish objective.
Potential obstacle for long trades.
Potential obstacle for short trades.
Bullish Structural Target Example
Imagine price is in a bullish trend and pulls back into support.
The previous high matters because price has already reacted there and orders may again be concentrated around that area.
Bearish Structural Target Example
Liquidity as a Profit Target
You learned earlier that obvious highs and lows can contain clusters of orders.
Those areas can also become logical objectives.
Targeting Opposing Liquidity
A common price-action framework is to use liquidity on one side of the market as part of the setup and liquidity on the opposite side as a potential objective.
What Is an R-Multiple?
An R-multiple expresses the result of a trade relative to the amount initially risked.
If your stop distance represents 1R:
R-Multiple Example
Do Not Force an R-Multiple Into the Chart
Suppose your strategy prefers a 1:3 risk-to-reward.
But major resistance is sitting at 1.7R.
You cannot make that resistance disappear just because your spreadsheet wants 3R.
Find the Target Before You Enter
One of the worst times to decide where to take profit is after the trade is already moving.
Profit creates emotion just like loss does.
↓
Stop / Invalidation
↓
Realistic Target
↓
Risk-to-Reward
↓
Position Size
↓
Execute
What Is Between Your Entry and Target?
A target can look attractive mathematically while ignoring obvious market obstacles.
Check for:
Should Your Take Profit Sit Exactly on the Level?
Some traders place the take-profit order slightly before a major structural objective rather than directly on it.
The reasoning is simple: price may approach the level, react just before it and reverse without filling an order placed at the exact extreme.
Whether your strategy uses exact levels or small offsets should be defined consistently.
Fixed R-Multiple Targets
Some trading systems use a consistent reward multiple, such as 2R.
Structure-Based Targets
Structure-based exits adapt the target to the chart.
Fixed Target vs. Structural Target
| Method | Target Based On | Advantage | Tradeoff |
|---|---|---|---|
| Fixed R | Risk multiple | Objective | May ignore structure |
| Structural | Market level / liquidity | Adapts to market | More discretionary |
Combining Structure With Minimum Risk-to-Reward
A practical approach is to combine both concepts.
Good Setup, Bad Target Space
The entry signal may look excellent, but the next major obstacle makes the trade unattractive.
Late Entries Shrink Your Available Reward
This connects directly with Lesson 1.
The Danger of Moving the Target Farther Away
Traders sometimes move their take-profit farther away because the trade is currently profitable.
This can turn a planned exit into greed.
The Opposite Problem: Taking Profit Too Early
Fear can be just as damaging as greed.
Traders may plan a 2R target, then close at 0.4R because they are afraid the small profit will disappear.
Target Size and Win Rate Work Together
Larger targets can offer bigger individual winners, but they generally require price to travel farther before the trade succeeds.
Smaller targets may be reached more frequently, but each winner contributes less.
| Average Winner | Break-Even Win Rate* |
|---|---|
| 1R | 50% |
| 2R | About 33.3% |
| 3R | 25% |
| 4R | 20% |
*Simplified before spreads, commissions, slippage and other costs.
A Realistic Target Is Better Than an Impressive Target
Traders often post enormous risk-to-reward screenshots because they look impressive.
But an unrealistic 1:10 target that rarely gets reached can be less useful than a repeatable target supported by your tested strategy.
Different Markets Need Different Expectations
Market volatility and behavior differ between instruments.
A target that is realistic for EUR/USD may not make sense for gold, an equity index or another instrument.
Session Highs and Lows as Targets
Intraday traders may monitor session extremes as potential objectives.
Targets Around Major News
Scheduled economic releases can dramatically change short-term market behavior.
Price may accelerate through a normal technical target or reverse before reaching it.
What About Multiple Profit Targets?
Some traders divide a position into multiple exits.
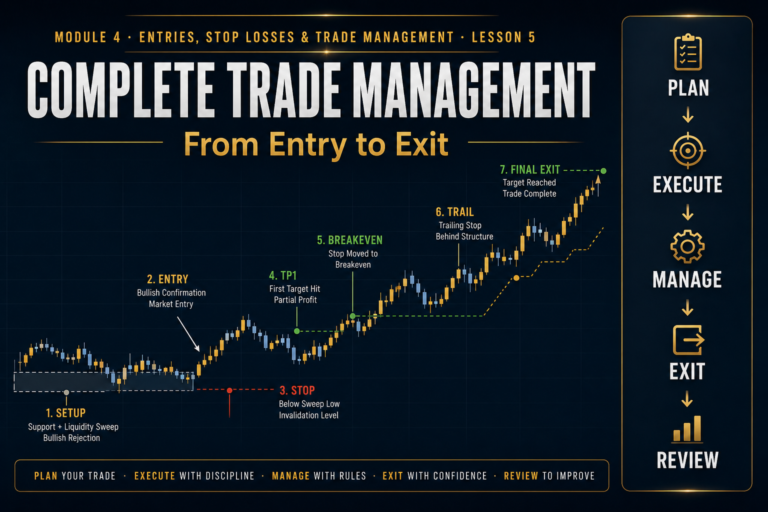
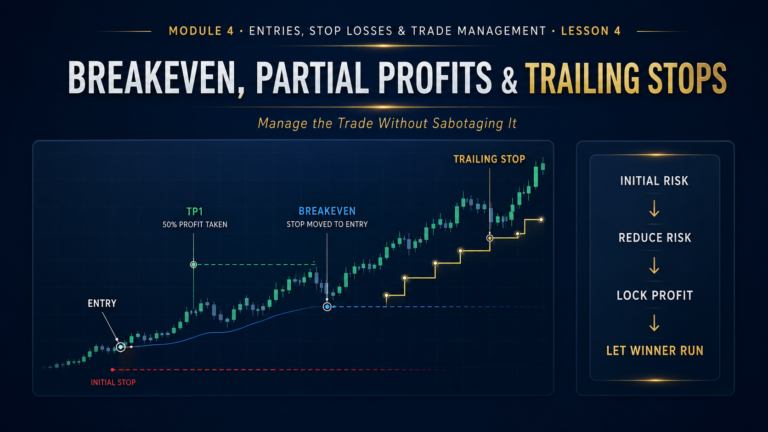
This changes both your average reward and trade-management mathematics, so we will cover partial exits properly in the next lesson.
Complete Bullish Target Selection Example
Complete No-Trade Example
Your Trading Plan Should Define Target Rules
Common Take-Profit Mistakes
Your desired profit does not determine how far price can realistically move.
A 1:5 target is meaningless if strong resistance sits at 1.5R.
Lower-timeframe targets can run directly into major higher-timeframe obstacles.
Moving the goalposts can turn planned winners into disappointing exits.
Repeatedly taking tiny profits can destroy the expectancy of a strategy designed around larger winners.
A late entry changes the remaining reward and therefore the trade mathematics.
Take-Profit Selection Framework
Stop Guessing Where to Take Profit
Financial Markets Academy offers live 1-on-1 mentorship for traders who want to learn how entries, stop losses, realistic profit targets, position sizing and trade management fit together inside a complete trading plan.
Reserve Your Seat →Take-Profit Checklist
Frequently Asked Questions
Where should I set my take profit?
A take-profit level can be based on meaningful market structure, support or resistance, swing points, opposing liquidity and your strategy’s minimum risk-to-reward requirements.
What is an R-multiple in trading?
An R-multiple measures profit or loss relative to the amount initially risked. A 2R winner earns twice the amount that was initially at risk.
Is a 1:2 risk-to-reward always good?
Not automatically. A 1:2 target should still be realistic based on the strategy, market structure and probability of reaching the target.
Should I target previous highs and lows?
Previous structural highs and lows can be useful target references because they may represent resistance, support or liquidity, but they should be evaluated within the complete setup.
Should I put my take profit slightly before resistance?
Some strategies do this because price may reverse before reaching an exact visible level. Whatever method you use should be defined consistently in the trading plan.
Can I change my take profit after entering?
A tested trade-management plan may allow target adjustments under specific conditions, but changing the target because of fear or greed creates inconsistency.
Module 4 · Lesson 3 Knowledge Quiz
B. How much money you want today
C. Yesterday’s loss
D. Maximum leverage
B. The account doubled
C. The stop is twice the target
D. Two trades were taken
B. A random price above entry
C. The amount needed to recover a loss
D. Maximum possible price
B. Ignore resistance
C. Increase leverage
D. Remove the stop
B. It changes the previous high
C. It guarantees a loss
D. It eliminates risk
Key Takeaways
Lesson 4: Breakeven, Partial Profits & Trailing Stops
Setting the original stop and target is only the beginning. In Lesson 4, we cover what happens after the trade starts moving — including when to move to breakeven, how partial exits change your mathematics and when trailing a stop can help or hurt.